Ravelly Followers

Reminder

If you are a "non-responder or OpenID-er" which to me means I have no way of responding to a comment that you've left, please leave a way for me to get in touch with you, especially if you're participating in a blog give-away or if you are asking for information or links.
By leaving your email within your comment, I can find you. I realize that this is sometimes a scary thing to do with scams and all but if you disguise the email as say.....
me at yahoo dot com
this is the perfect way to hide from the unwanted eye. So please help me out if you are one of the non-responders.
Thank you, in advance.....Ravelly Rhonda!!
Showing posts with label Stitchings. Show all posts

May 1, 2018

Mini Tutorial - To Stitch or Not To Stitch

Happy first day of May everyone!!
Thanks to all who have commented on my previous post on minis. And thank you for reminding me that I didn't follow through with the entire process.  The stitch or not to stitch part.

These two minis are not stitched. If you are not going to be washing or using your mini as a mug-rug, there is really not need to stitch it down. You can hand wash it gently, lay flat to dry and then press carefully with no problems.

I do raw edge stitching which I will show at the end of this post. I do the raw edges and also quilt inside and around each piece.

Here's a close up of the eagle's beak and feathers plus stitching around the area.
Here's another example.

Here' you can see where I stitched around the head of the buffalo, inside the body and around the piece.

Same with the beaver.

Stitching around and inside the areas also adds texture and depth to your project.

Here are three sizes of needles that I use. The smaller the needle, the less fraying of your project because you will be stitching very close to the edge of your pieces.

Here, I hope you can see that I've moved my sewing needle as far over to the left as possible. If you machine doesn't have this capability, you can adjust your project so that the needle will land near the edge.

Here you see I have positioned the area I'm about to stitch. It's hard to say how close to the edge I stitch....probably at eighth inch or less.

And here's a better view.  I hope this helps and again, thank you everyone for your great comments!!!


Nov 6, 2011

Mockingbird

 This is the next block that will go along with my Texas seal.  It's my version of a Mockingbird.  I made four log cabins using 1 1/2" strips and 2 1/2" strips. This gives the log cabins that rounded look you see in the photo.  All fabrics are from my stash which I'm determined to use as much as possible.

Sep 25, 2011

Stash Bustin' Time - Part 2

 This is the design that inspired me. This one calls for blue and  tone-on-tone half square triangles but I had something else in mind.
Here's what I have so far. I like the layout and plan on sewing it together ASAP.
(each block measures 6 1/2")
 I'll be auditioning border fabric early this week...... one of those "know it when I see it" borders.... LOL

Nov 24, 2010

Round One

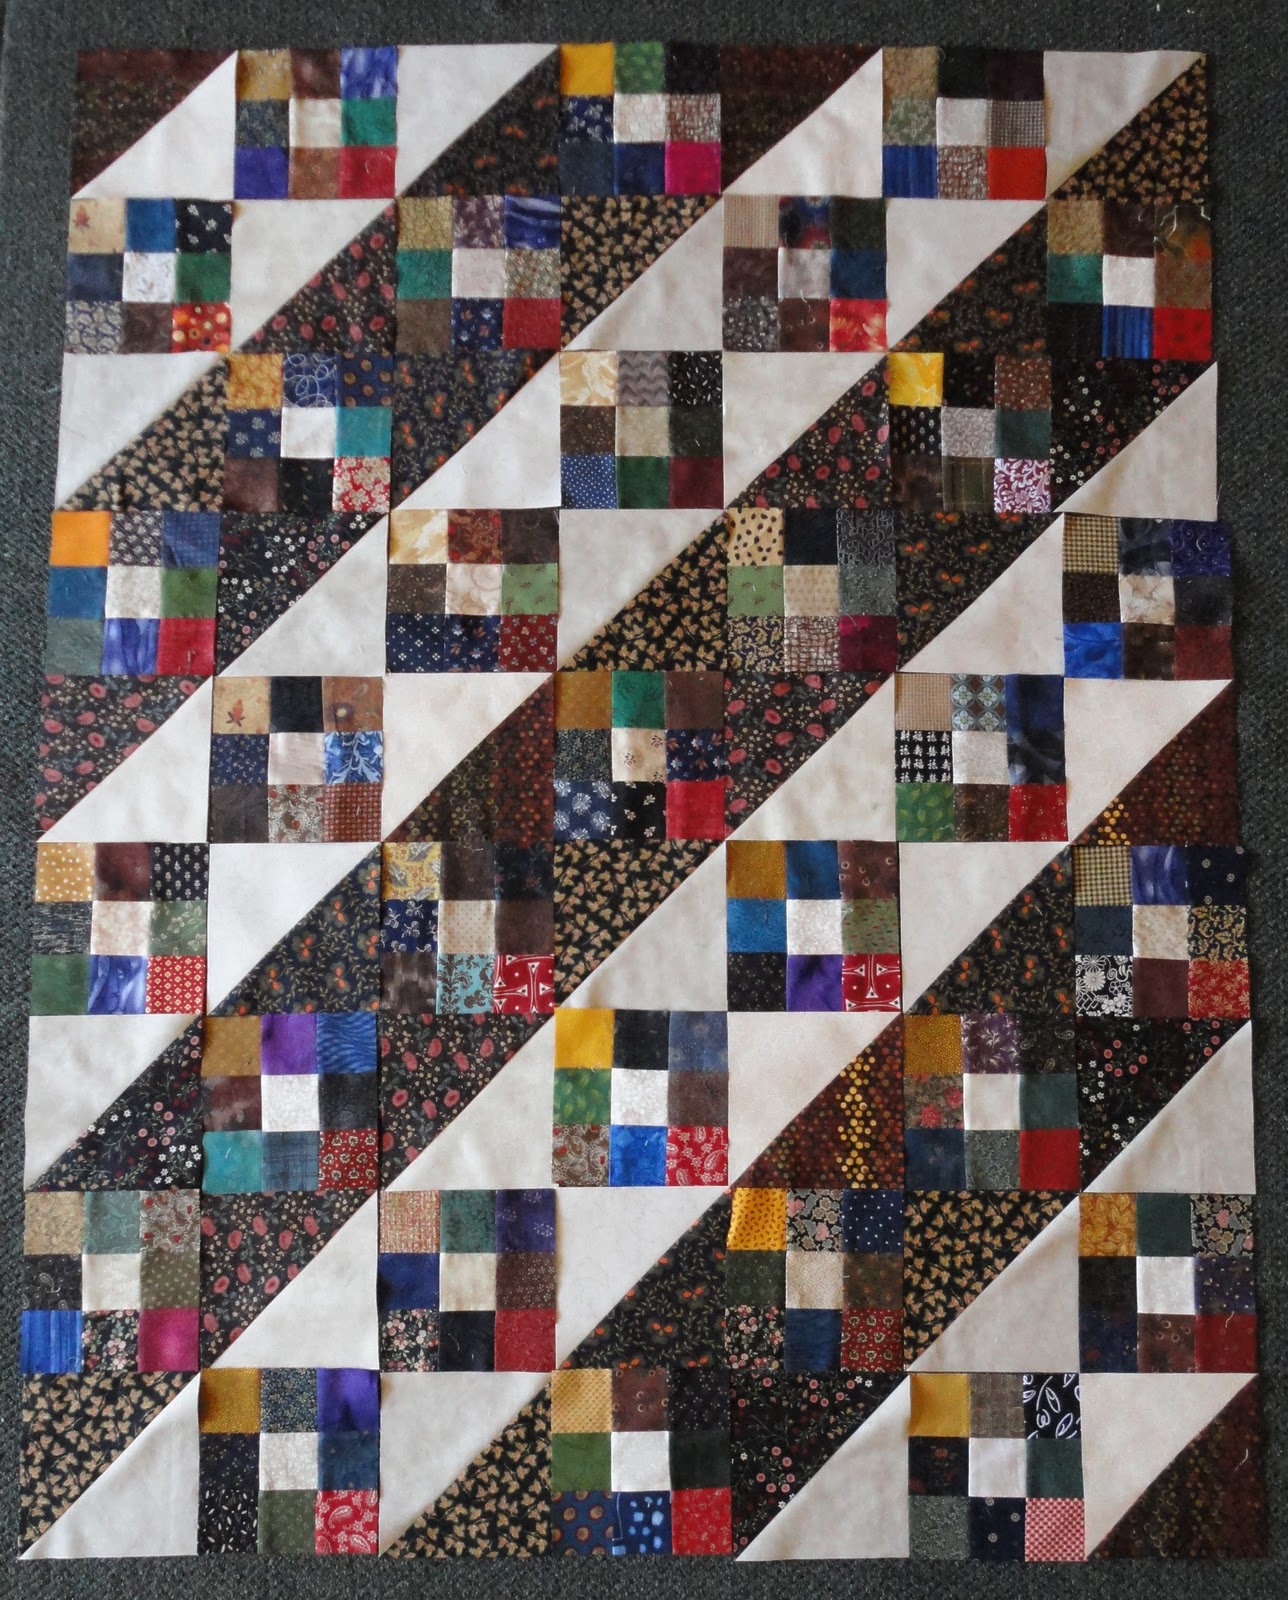
Well, I finally finished round one of this little quilt (approx. 29" X 29").  If you remember, I've been experimenting with fabrics and finally settled on the scrappy look.  I just happened to have some scraps lying around and dug right in.  After making several groups of half square triangles, I couldn't help myself.....I started a couple of rows just to make sure that I'd like this design.
I like to take pictures during the process and review them as I go along.....this really helps to see any mistakes but, alas, there are times when you still don't see what's wrong.
I decided to make this quilt small because I really like the looks of the smaller quilts. In this way, you can hang more around the house, drape them over the sofa, use them as table runners and whatever else you can think of.
The blocks are 2 1/2" squares and HS.  I did try to not look at each one as I sewed them together.  There are a few of the same one together but you really can't tell.  I'm happy the way things turned out.
The next round is going to be a dark stopping strip followed by a little surprise...so stay tuned.

Jun 11, 2010

Just In Time for the 4th Part 4


Above, we have several options for backgrounds.  Some work well, other.....the eagle gets lost or the background is too busy.  The variegated background is one of my favorites, so that's a possibility.  The night sky fabric is also a great background.  It pays to audition several fabrics and if you still can't choose, leave the project up on your design wall for a couple of days to think about it.  And, of course, you can always ask your blogging friends for advice.  They often have a wealth of knowledge with a long distance viewpoint.


I decided to go with a patriotic theme.  I chose several shades of reds and tone-on-tones and a wonderful blue starry fabric.  I cut strips of the chosen fabrics into varied widths just to make things interesting, then sewed them together.  Using our great "flag" as a guide for the correct stripes, I then added the starry corner.
Now to add the eagles......perfect. 
But now I'm thinking about just using one eagle!
That's the ticket. 
News Flash!!!!!!!
Once you decide on your arrangement, iron the eagle into position.  You are almost home.
At this point, you could decide whether or not to stitch your design down.  Since this is a wall hanging and will not be used on a bed, you could choose not to stitch around your eagle.  The adhesive is very strong and can hold up to hand washing and the drip dry method.

Jun 3, 2010

Just In Time for the 4th - Part 3


With this next eagle, notice that I have traced the parts that I will be using on a large sheet of freezer paper.  This makes it easy to turn onto the back side when using the light box.
Also, note that I have added something.  It is perfectly fine to change or alter your design.  Here, I've added the other leg and talons to the eagle. By using a lighter shade of yellow, you get a sense of depth to the piece.
I am using some of the same fabrics that I used when making the first eagle but I am also, adding a couple of fabrics as well.  This lends individuality and continuity.
I am showing a couple of different positions and shapes of the eagle just so that you can see where to place the fabrics to give the best showing and depths (foreground and background).  You may want to make only one eagle for this project.  Don't get overwhelmed.
So, have fun. Play around with the colors your have chosen and don't be afraid to change or add things to suit your needs.
My fascination with eagles, bald eagles in particular, comes from my early science experiences categorizing the animal kingdom (mammals, birds, reptiles, amphibians, fish, etc.).  Later, when I became a science/art teacher, my students developed an interest.  These tutorials of the eagle can be applied to any animal.
G'G' was kind enough to send me a link to a live-cam of a bald eagle's nest.  Follow this LINK to Channel Islands live webcam to get a better look at the wonder of the bald eagle.

In the next segment, we'll talk about auditioning background fabrics, placement and methods of stitching.  
Remember, this wall hanging will be finished and ready to hang by the 4th of July even if you can only work on your piece 30 minutes at a time.

May 29, 2010

Just In Time for the 4th Part 2


By now, you have chosen a picture and have had it enlarged, if necessary.  The next step is to number your picture into workable sections as shown above.

Here you can clearly see a close up of a particular section. I wanted to emphasize the fact that even though the wing is continual, you can break it into even more sections to lend more possibilities for fabric usage.  Note that the eagle now appears in the opposite direction which is the side that you will be tracing from.  You may wish to write on the back side of your picture, "Trace from this side."

Using a lightbox or some other light source, trace your numbered shapes onto the adhesive of your choice.  I prefer Steam-a-seam or Heat & Bond.  If possible use the "lite" forms of these adhesives so that your finished project is not stiff.  When tracing, always extend the finish lines alittle further so that fabrics can be placed underneath the next piece. Also, trace shapes slightly bigger than original shapes. It is much easier to trim down your piece. 
Note the little hash marks I've drawn on my pieces (pointed to with pencil), this is so that each piece can be easily placed to the next. A guide, if you will.

The applique sheet is very important because it will allows you to work with your pieces while seeing thru to your original picture.
Now for some fun!!!!
When choosing fabric, look for fabrics with undertones of other colors. This fabric is a great example of that fact.  It is brown but has gray and black undertones, great for feathers! Don't be afraid to mix in batiks or tiny prints and tone-on-tones.  Also, after you've chosen your fabrics and you're right in the middle of ironing on adhesive but you see another fabric that would also work but wasn't in your original color choices......go for it! Use it as well. There are no rules to this. If you really like it, use it.

If you are struggling with your color choices, here's a tip.  Place your choices close together and take a picture of them using the setting of  "no flash" on your digital camera then review the shot.  This setting is great when you are not sure about the depth or tone of your fabrics.


After you've ironed your adhesive cut-outs onto your fabrics, it's time to cut away the excess. I use the small scissors for this. They are much easier to manipulate.

Now, place your original picture on top of your lightbox and then the applique sheet on top of that.  Make sure that your picture in turned right-side up. Then start cutting and placing your pieces onto the applique sheet.  When you are happy with the placement, iron the pieces together.


Now you can remove the piece from applique sheet and you will be ready for the next step.
Background auditions!!!
We're getting close to the finish, so hang in there.
You're doing great!

Aug 3, 2008

Duh, Girlfriend

OK, I'll admit that the problem with my new EQ6 was totally my fault. If you don't know......long story short, I didn't read part on FAQ which would have solved my loading problem early last week.....but oh no, I wanted to do this on my own. When I finally gave up and read the FAQ, within 2 minutes, I was viewing and playing around with the EQ6 design area. D....U.....H!
I can't get over the way my Janome just seems to spit...(sorry about the verb usage).....out these designs. Sometime I catch myself watching the needle go up and down, round and round, loop to loop..... instead of sewing blocks together on my other machine. I'm thinking of moving across the room so I won't be tempted....hehehehehehehe........what do you think?

;-}

Don't count the days, make the days count!

Hands2Help

H2H 2013 logo

LinkWithin

Related Posts with Thumbnails

Hop